


 Afrikaans
  Albanian
  Amharic
  Arabic
  Armenian
  Azerbaijani
  Basque
  Belarusian
  Bengali
  Bosnian
  Bulgarian
  Catalan
  Cebuano
  Corsican
  Croatian
  Czech
Czech  Danish
  Dutch
Dutch  English
  Esperanto
  Estonian
  Finnish
  French
  Frisian
  Galician
  Georgian
  German
  Greek
Greek  Gujarati
  Haitian Creole
  hausa
hausa  hawaiian
  Hebrew
  Hindi
Hindi  Miao
Miao  Hungarian
  Icelandic
  igbo
igbo  Indonesian
  irish
irish  Italian
  Japanese
  Javanese
  Kannada
  kazakh
  Khmer
Khmer  Rwandese
  Korean
  Kurdish
  Kyrgyz
  Lao
Lao  Latin
Latin  Latvian
  Lithuanian
  Luxembourgish
  Macedonian
  Malgashi
  Malay
Malay  Malayalam
  Maltese
  Maori
Maori  Marathi
  Mongolian
  Myanmar
  Nepali
  Norwegian
  Norwegian
  Occitan
  Pashto
  Persian
  Polish
  Portuguese
  Punjabi
  Romanian
  Russian
  Samoan
  Scottish Gaelic
  Serbian
  Sesotho
  Shona
Shona  Sindhi
  Sinhala
  Slovak
  Slovenian
  Somali
  Spanish
  Sundanese
  Swahili
  Swedish
  Tagalog
  Tajik
Tajik  Tamil
Tamil  Tatar
Tatar  Telugu
  Thai
Thai  Turkish
  Turkmen
  Ukrainian
  Urdu
Urdu  Uighur
  Uzbek
Uzbek  Vietnamese
  Welsh
Welsh  Bantu
Bantu  Yiddish
  Yoruba
  Zulu
Zulu Februari . 13, 2025 19:24
Back to list
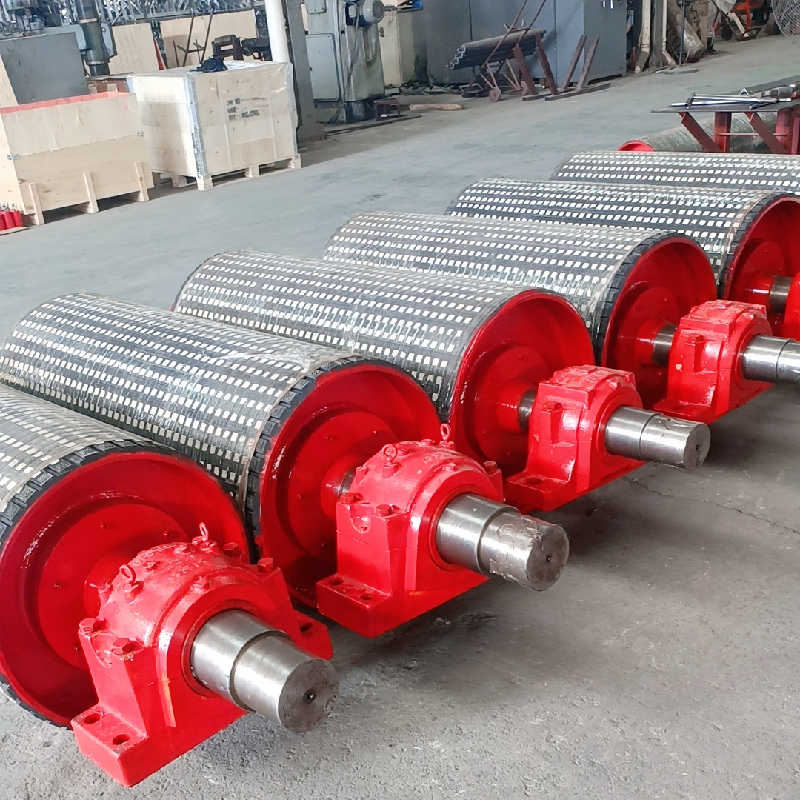
Polyurethane Roller
Applying polyurethane with a roller offers an effective solution for achieving a smooth, durable finish on a variety of surfaces, from hardwood floors to furniture. This process has gained popularity among both DIY enthusiasts and professional contractors due to its efficiency and ease of application. With the right techniques and materials, rolling polyurethane can enhance the look and longevity of your project.
Between coats, allow sufficient drying time as recommended by the manufacturer. This period usually ranges from 4 to 8 hours for water-based and up to 24 hours for oil-based polyurethanes. Once the first coat is dry, lightly sand the surface with fine-grit sandpaper to remove any imperfections. Clean the surface again with a tack cloth to eliminate sanding dust before applying subsequent coats. Multiple coats are usually required, generally two to three, for optimum durability and appearance. The final step involves curing the polyurethane, which can take up to a week. During this time, ensure the area is well-ventilated and protected from dust and debris. Avoid heavy use or putting any objects on the surface until it is fully cured to prevent damage or markings. Applying polyurethane with a roller not only saves time but also ensures an even coverage with minimal effort. The technique’s versatility means it can be adapted for use on various surfaces, enhancing both the aesthetic and functional quality of projects. Whether you’re an experienced contractor or a DIY novice, following these guidelines can yield professional-quality finishes that exhibit your attention to detail and commitment to quality. By mastering the art of rolling polyurethane, you make a significant investment in the longevity and beauty of your surface, all while enhancing your skill set and bolstering your reputation for excellence.

Between coats, allow sufficient drying time as recommended by the manufacturer. This period usually ranges from 4 to 8 hours for water-based and up to 24 hours for oil-based polyurethanes. Once the first coat is dry, lightly sand the surface with fine-grit sandpaper to remove any imperfections. Clean the surface again with a tack cloth to eliminate sanding dust before applying subsequent coats. Multiple coats are usually required, generally two to three, for optimum durability and appearance. The final step involves curing the polyurethane, which can take up to a week. During this time, ensure the area is well-ventilated and protected from dust and debris. Avoid heavy use or putting any objects on the surface until it is fully cured to prevent damage or markings. Applying polyurethane with a roller not only saves time but also ensures an even coverage with minimal effort. The technique’s versatility means it can be adapted for use on various surfaces, enhancing both the aesthetic and functional quality of projects. Whether you’re an experienced contractor or a DIY novice, following these guidelines can yield professional-quality finishes that exhibit your attention to detail and commitment to quality. By mastering the art of rolling polyurethane, you make a significant investment in the longevity and beauty of your surface, all while enhancing your skill set and bolstering your reputation for excellence.
Next:
Latest news
-
Wing Pulley Conveyor for Conveyor Belt MaintenanceNewsJun.16,2025
-
Self Cleaning Spiral Idler for Conveyor DesignNewsJun.16,2025
-
Pulley Lagging for Conveyor Belt AlignmentNewsJun.16,2025
-
Impact Idlers Used in Belt Conveyor for PerformanceNewsJun.16,2025
-
Ceramic Lagging Conveyor Pulley for Conveyor Belt SystemsNewsJun.16,2025
-
Belt Conveyor Idler for Heavy-Duty ApplicationsNewsJun.16,2025
OUR PRODUCTS


")


")
")
")

")

